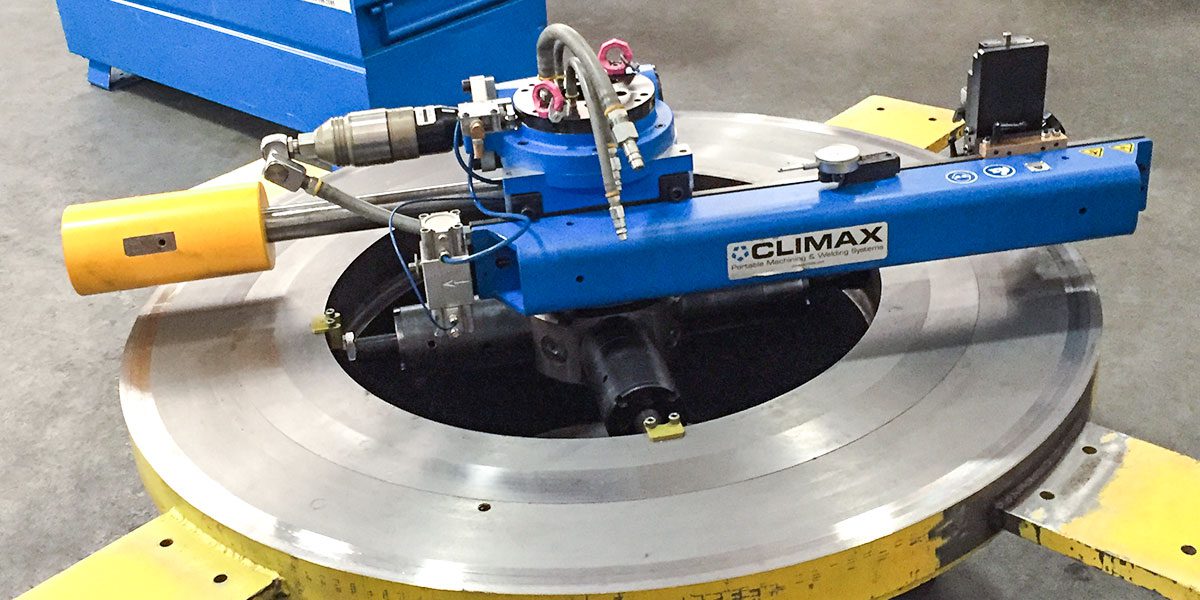
24 Ago LEVELING YOUR FLANGE FACER IN 8 EASY STEPS
Accurately leveling and centering your flange facer is an essential part of machining. To save time and ensure a project is cost-efficient, it’s crucial that operators complete this set-up process the right way before beginning a machining job. With limitations around how thin flange material can be, the steps below ensure that operators remove the smallest amount of material possible each time. This will extend the lifespan of the repair and produce high-quality results.
CLIMAX Product Trainer John Savko shares eight easy steps to accurately level and center your flange facer. The process below applies to all standard flange facer products.
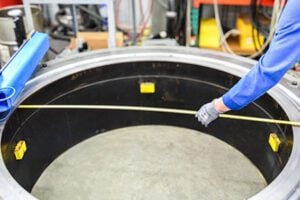
STEP 1: Measure the bore diameter. This will be used to determine the leg length. |
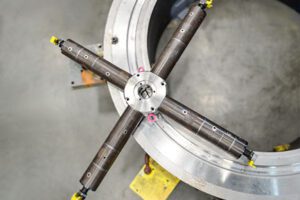
STEP 2: Select the appropriate leg length and foot. Install setup fingers. |
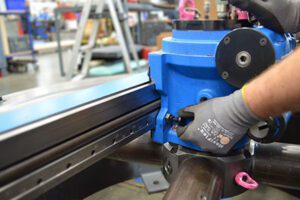
STEP 3: Adjust the turning arm and counterweight arm to the correct diameter. |
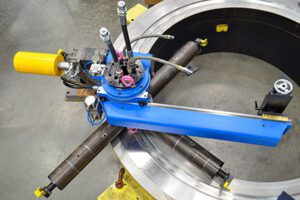
STEP 4: Set the machine onto the flange using setup fingers. |

STEP 5: Lightly tighten leveling feet in the flange. |
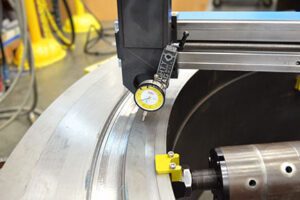
STEP 6: Extend feet into the flange. Indicate, level, and tighten leveling feet. |
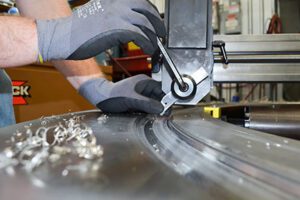
STEP 7: Install tool bit. Connect to power. |
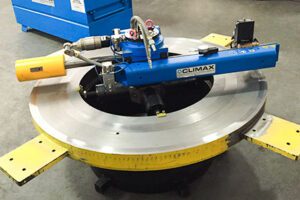
STEP 8: You are ready to begin machining! |
Want to learn more about getting the most from your CLIMAX flange facer? Contact a CLIMAX expert today to learn more about the flange facing solution that’s right for your company.


